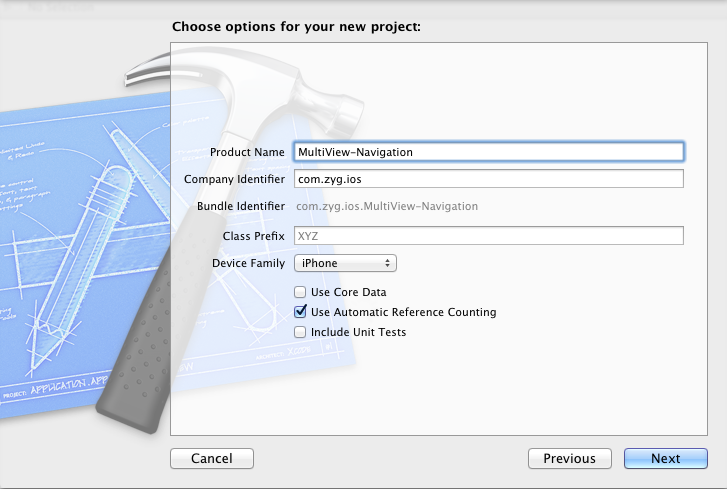
1、创建一个Empty Application工程,命名为:MultiView-Navigation,如下图
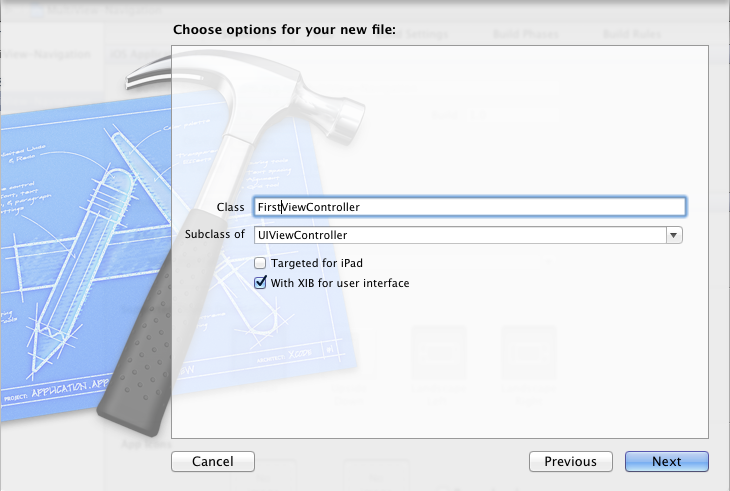
2、选中工程中的Group MultiView-Tab,然后按住CMD(Windows键)+N,新建视图控制器FirstViewController,如下图
3、依照上步操作,新建视图控制器SecondViewController
4、修改AppDelegate.h,修改后如下:
备注1:firstViewController被push到navigationController中。
备注2:self.navigationController的英文注释为:// If this view controller has been pushed onto a navigation controller, return it.
所以,self.navigationController返回的正是备注1中的navigationController。
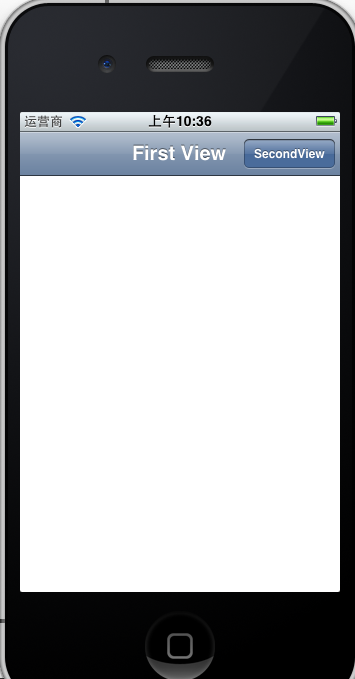
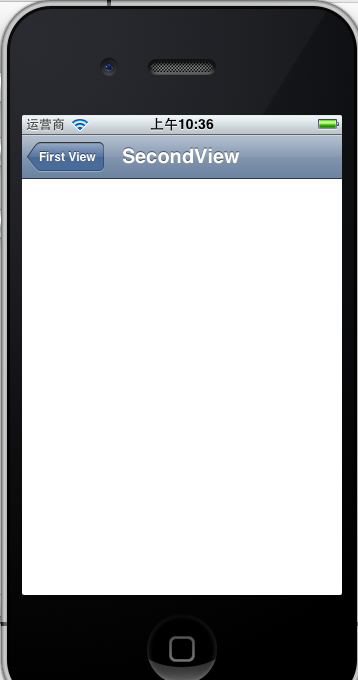
9、编译、运行,效果如下:
10、Navigation通常与TableView搭配使用,博文iPhone开发【七】常用控件之表TableView 编写了一个TableView的示例,那是一个单视图应用,现在搭配上Navigation将其修改为多视图应用。
11、将TableView示例工程复制一份名称修改为TableViewDemo-Nav,打开该工程进行修改。
12、首先,修改AppDelegate,添加UINavigationController的实例,AppDelegate.h修改后如下:
14、ViewController.h修改后如下:
点击下载本文源代码
2、选中工程中的Group MultiView-Tab,然后按住CMD(Windows键)+N,新建视图控制器FirstViewController,如下图
3、依照上步操作,新建视图控制器SecondViewController
4、修改AppDelegate.h,修改后如下:
// // AppDelegate.h // MultiView-Navigation // // Created by Zhang Yanguang on 12-11-21. // Copyright (c) 2012年 MyCompanyName. All rights reserved. // #import5、修改AppDelegate.m,主要是修改didFinishLaunchingWithOptions方法,修改后如下:#import "FirstViewController.h" #import "SecondViewController.h" @interface AppDelegate : UIResponder @property (strong, nonatomic) UIWindow *window; @property (strong, nonatomic) UINavigationController *navigationController;//导航视图控制器对象 @end
- (BOOL)application:(UIApplication *)application didFinishLaunchingWithOptions:(NSDictionary *)launchOptions
{
    self.window = [[UIWindow alloc] initWithFrame:[[UIScreen mainScreen] bounds]];
    // Override point for customization after application launch.
    FirstViewController *firstViewController = [[FirstViewController alloc]initWithNibName:@"FirstViewController" bundle:nil];
    //初始化navigationController,将firstViewController作为根视图控制器
    navigationController = [[UINavigationController alloc]initWithRootViewController:firstViewController];//备注1
    [self.window addSubview:navigationController.view];

    self.window.backgroundColor = [UIColor whiteColor];
    [self.window makeKeyAndVisible];
    return YES;
}
6、修改FirstViewController.h,添加goSecondView方法: // // FirstViewController.h // MultiView-Navigation // // Created by Zhang Yanguang on 12-11-21. // Copyright (c) 2012年 MyCompanyName. All rights reserved. // #import7、修改FirstViewController.m,主要是修改initWithNibName及实现goSecondView方法:#import "SecondViewController.h" @interface FirstViewController : UIViewController -(void)goSecondView; @end
- (id)initWithNibName:(NSString *)nibNameOrNil bundle:(NSBundle *)nibBundleOrNil
{
    self = [super initWithNibName:nibNameOrNil bundle:nibBundleOrNil];
    if (self) {
        // Custom initialization
        self.title = @"First View";
        self.navigationItem.rightBarButtonItem = [[UIBarButtonItem alloc]initWithTitle:@"SecondView" style:UIBarButtonItemStyleBordered target:self action:@selector(goSecondView)];

    }
    return self;
}
-(void)goSecondView{
    SecondViewController *secondViewController = [[SecondViewController alloc]initWithNibName:@"SecondViewController" bundle:nil];
    //跳转到secondViewController
    [self.navigationController pushViewController:secondViewController animated:YES];//备注2
}
8、视图控制器SecondViewController,仅修改SecondViewController.m中的initWithNibName方法,如下: - (id)initWithNibName:(NSString *)nibNameOrNil bundle:(NSBundle *)nibBundleOrNil
{
self = [super initWithNibName:nibNameOrNil bundle:nibBundleOrNil];
if (self) {
// Custom initialization
self.title = @"SecondView";
}
return self;
} 代码解释:备注1:firstViewController被push到navigationController中。
备注2:self.navigationController的英文注释为:// If this view controller has been pushed onto a navigation controller, return it.
所以,self.navigationController返回的正是备注1中的navigationController。
9、编译、运行,效果如下:
10、Navigation通常与TableView搭配使用,博文iPhone开发【七】常用控件之表TableView 编写了一个TableView的示例,那是一个单视图应用,现在搭配上Navigation将其修改为多视图应用。
11、将TableView示例工程复制一份名称修改为TableViewDemo-Nav,打开该工程进行修改。
12、首先,修改AppDelegate,添加UINavigationController的实例,AppDelegate.h修改后如下:
// // AppDelegate.h // TableViewDemo // // Created by Zhang Yanguang on 12-10-25. // 博文:http://blog.csdn.net/m_changgong/article/details/8115137 // Copyright (c) 2012年 MyCompanyName. All rights reserved. // #import修改AppDelegate.m中的didFinishLaunchingWithOptions方法,如下:@class ViewController; @interface AppDelegate : UIResponder @property (strong, nonatomic) UIWindow *window; @property (strong, nonatomic) ViewController *viewController; //添加navigationController @property (strong, nonatomic) UINavigationController *navigationController; @end
- (BOOL)application:(UIApplication *)application didFinishLaunchingWithOptions:(NSDictionary *)launchOptions
{
    self.window = [[[UIWindow alloc] initWithFrame:[[UIScreen mainScreen] bounds]] autorelease];
    // Override point for customization after application launch.
    self.viewController = [[[ViewController alloc] initWithNibName:@"ViewController" bundle:nil] autorelease];
    //注释掉下面一行代码
    /*
    self.window.rootViewController = self.viewController;*/
    //添加如下代码
    self.navigationController = [[UINavigationController alloc]initWithRootViewController:self.viewController];
    [self.window addSubview:self.navigationController.view];

    [self.window makeKeyAndVisible];
    return YES;
}
13、新建视图控制器AppViewController(带xib),如下: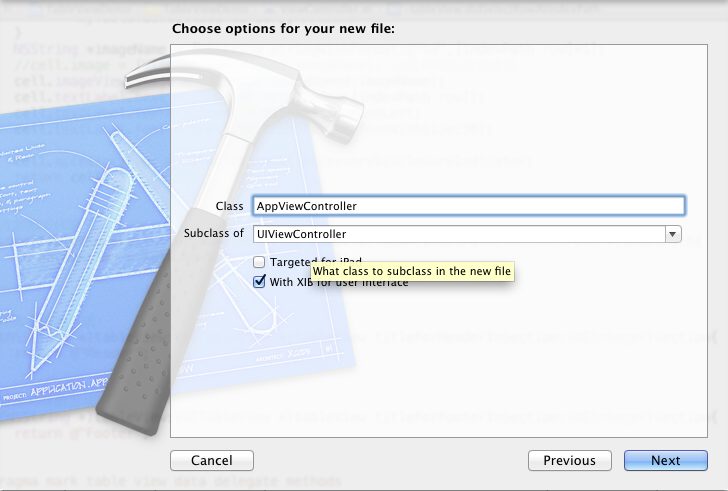
14、ViewController.h修改后如下:
// // ViewController.h // TableViewDemo // // Created by Zhang Yanguang on 12-10-25. // Copyright (c) 2012年 MyCompanyName. All rights reserved. // #importViewController.m中主要是实现了-(void)tableView:(UITableView*)tableView didSelectRowAtIndexPath:(NSIndexPath *)indexPath方法,如下:#import "AppViewController.h" @interface ViewController : UIViewController @property(nonatomic,retain)NSMutableArray *apps; @property(nonatomic,retain)AppViewController *appViewController; @end
//实现didSelectRowAtIndexPath
-(void)tableView:(UITableView*)tableView didSelectRowAtIndexPath:(NSIndexPath *)indexPath{
NSString *imageName = [NSString stringWithFormat:@"%d",[indexPath row]+1];
NSString *appName = [apps objectAtIndex:[indexPath row]];
//初始化appViewController
appViewController = [[AppViewController alloc]initWithNibName:@"AppViewController" bundle:nil];
//传递参数
appViewController.appName = appName;
appViewController.appIconName = imageName;
//跳转到appViewController
[self.navigationController pushViewController:appViewController animated:YES];
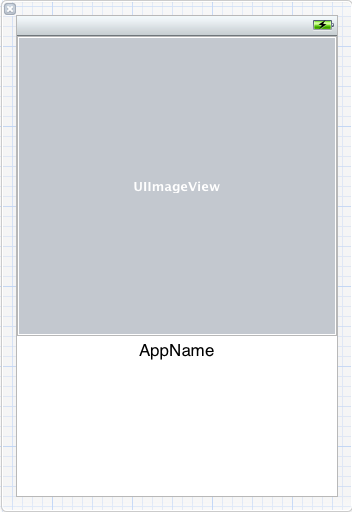
} 15、AppViewController.h如下: // // AppViewController.h // TableViewDemo // // Created by Zhang Yanguang on 12-11-21. // Copyright (c) 2012年 MyCompanyName. All rights reserved. // #import注意:将输出口与AppViewController.xib中的UI控件相连。AppViewController.xib如下:@interface AppViewController : UIViewController @property(strong,nonatomic)NSString *appName; @property(strong,nonatomic)NSString *appIconName; @property(strong,nonatomic)IBOutlet UILabel *appNameLabel; @property(strong,nonatomic)IBOutlet UIImageView *appIconImgView; @end
//
//  AppViewController.m
//  TableViewDemo
//
//  Created by Zhang Yanguang on 12-11-21.
//  Copyright (c) 2012年 MyCompanyName. All rights reserved.
//
#import "AppViewController.h"
@interface AppViewController ()
@end
@implementation AppViewController
@synthesize appName;
@synthesize appIconName;
@synthesize appNameLabel;
@synthesize appIconImgView;
- (id)initWithNibName:(NSString *)nibNameOrNil bundle:(NSBundle *)nibBundleOrNil
{
    self = [super initWithNibName:nibNameOrNil bundle:nibBundleOrNil];
    if (self) {
        self.title = @"AppViewController";
    }
    return self;
}
- (void)viewDidLoad
{
    [super viewDidLoad];
    // Do any additional setup after loading the view from its nib.

    self.appNameLabel.text = appName;
    self.appIconImgView.image = [UIImage imageNamed:appIconName];

    NSLog(@"appName=%@,appIconName=%@",appName,appIconName);
}
- (void)viewDidUnload
{
    [super viewDidUnload];
    // Release any retained subviews of the main view.
    // e.g. self.myOutlet = nil;
    appName = nil;
    appIconName = nil;
    appNameLabel = nil;
    appIconImgView = nil;
}
- (BOOL)shouldAutorotateToInterfaceOrientation:(UIInterfaceOrientation)interfaceOrientation
{
    return (interfaceOrientation == UIInterfaceOrientationPortrait);
}
@end
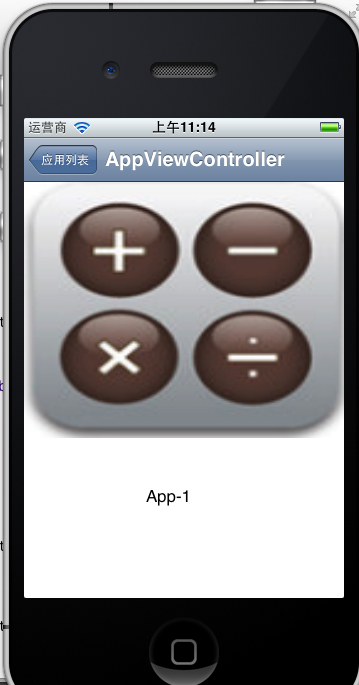
16、运行效果如下: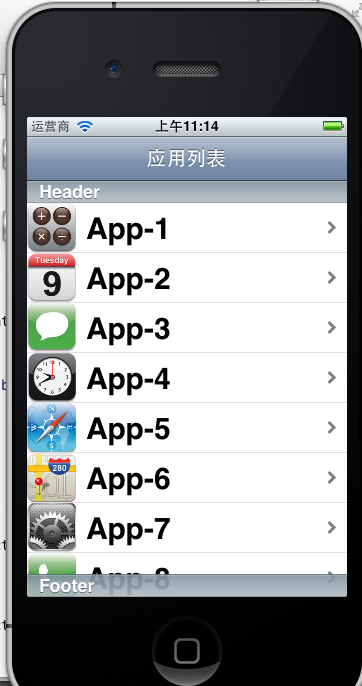
点击下载本文源代码
收藏的用户(0) X
正在加载信息~
推荐阅读
最新回复 (0)
站点信息
- 文章2321
- 用户1336
- 访客12216463
每日一句
Endings make room for new starts.
结束为新开始腾出空间。
结束为新开始腾出空间。